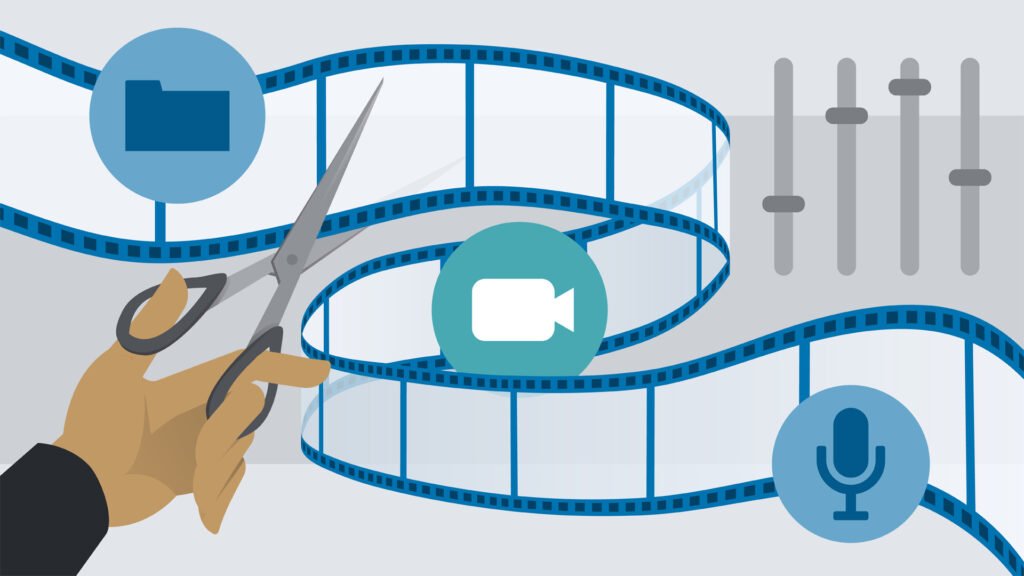
In my previous post about editing techniques, I broke down a lot of the cut types, transitions, and other things you can employ when moving between clips. In this companion piece, I’ll be introducing some tips and tricks that work not just for entire clips, but for the overall tone and feel of your video or film.
Of course, you need to focus on your style and what kind of story you want to tell before you start throwing some of these in willy-nilly, but once you experiment enough and become well-acquainted with these tips and tricks, you’ll start to get really dialed-in and learn how to best utilize them for your projects.
1. Learn the Shortcuts
You can read our post about keyboard shortcuts here, so I won’t get into the specifics, but I will say that learning your shortcuts is the best way to streamline your editing process. Once you figure out that the “L” button speeds up your playback, you’ll never want to sit through an interview in real-time ever again.
2. Add Music and SFX
If learning shortcuts is the easiest way to speed up your editing process, then the addition of music and sound effects to your project is the easiest way to add depth and layers to your project. When it comes to music, make sure you choose something that fits with your visuals. A metal song doesn’t really work with a glorious shot of a field of tulips (unless they’re like, totally metal tulips), and a slow-motion shot of a car-chase explosion doesn’t really warrant an upbeat disco track (although I would love to see it). Make sure to cut to the beat of the song, because it matters. A well-timed cut to the beat can be iconic, or it can be completely forgettable if it’s done right or wrong.
For sound effects, subtle crowd noises, background sound effects, and other audio cues help the audience feel like they’re really experiencing what they’re seeing on the screen. If you’ve ever seen any behind-the-scenes videos of productions, you’ll notice that there’s rarely music or sound effects being played in real-time; it’s all added in post.
For post-production, you should also always properly mix the music and sound effects with your footage audio to make it sound as natural as possible. As something of a side note, all of Envato’s music and sound effect are available within the Adobe Premiere, so you can plug temporary tracks into your project directly and see how they fit before you decide to purchase.
3. Ramp It Up… Or Down
Speed ramping is used for action scenes where something needs to be emphasized in either slow or fast motion, but starts in real-time (see: 300, Inception, Transformers, Saving Private Ryan). It can also be used to finesse your clips so that they fit together better within your sequence. If you’ve got a three-second hole in your sequence, but your clip is currently 3.5 seconds, experiment with ramping up the speed to the right duration to make it fit. Conversely, you can slow it down if the gap is longer than your clip. Just make sure it fits and looks realistic!
For Premiere: You can ramp your clip by right-clicking on your clip in the sequence and selecting Show Clip Keyframes > Time Re-mapping > Speed. The line on the clip will now represent the timing, and if you create markers (Command-click on Mac or Control-click on PC), you can move those markers to increase or decrease the duration between them.
For Final Cut X: You can ramp by selecting your range within your clip (or the whole clip), clicking the Re-Time menu popup below the viewer, and selecting > to 0% for slow motion, or > from 0% to speed it up.
4. When in Doubt, Cover It Up
If you’re editing an interview, or if your subject is telling a story and it seems to drag, the best thing to do is to add some b-roll or a+b roll to keep it interesting. Cut back to the person who’s talking if they’re saying something powerful or important, but don’t linger too long before cutting away just to break it up. If you’ve shot a lot of interviews, you’ll know that some subjects say “um,” “uh,” and “you know” a lot, and may ramble at times. You can cover up all these cuts while keeping the story moving. It also doesn’t hurt to go away to some live audio (a+b) of them to re-set, transition, or introduce the audience to another setting.
5. Space It Out, for Dramatic Effect
By adding footage to either cover up cuts, make your video flow more authentically, or transition to another location or idea, you’re making for a better piece — but these may not add any drama or tension. You can make your subject’s impactful statements stand out more if you give them some breathing room and let the viewer reflect on what they’ve just seen and heard. Keep the visuals going, but stop the a-roll and let the music and/or visuals aid the pause by increasing the volume or putting in the perfect visual cap on the soundbite. This video is a great example of letting the statements breathe while showing the wonderful visuals to enhance the story.
6. Stabilize It
In addition to poor-quality audio, having shaky footage can be a death sentence for your project. The good news is, there are great plug-ins and tools that will help you stabilize your footage that is out there, and even built-in to your editing software. Become very well-acquainted with them, because this can be a game-changer. Warp Stabilizer in Adobe Premiere/After Effects and SmoothCam in Final Cut X are the big ones, but there’s a powerful third-party plugin called ReelSteady that works really well in After Effects, from my experience. You can find apps that stabilize your phone video, as well, such as the well-reviewed Emulsion.
You can kind of see the stabilizer in action on this clip of mine; it’s a little “wavy,” but does a good job overall of stabilizing the footage since I’m literally holding a DSLR out the window of a helicopter:
The goal here is to make your footage as coherent as possible without overly distorting your image. Tweak your settings and experiment with every parameter possible to get the best result. If it’s still looking rough and you’ve tried everything, either trash the clip or be happy with your progress and understand you need to be more stable when filming, which will eliminate the problems in the first place.
7. Re-Frame, If You Can
These days, cameras are shooting higher and higher resolutions, which has created the ability for editors to re-frame and push/pull the footage to interesting effects. Since 1080p is still the standard delivery resolution across many jobs, you have a lot of space to explore with 2K-and-above resolutions. Try adding a subtle push-in during a tense scene, or position your subject in the centre of the frame if their eye-line was off. You can possibly even get two shots out of one clip if you’re shooting ultra hi-res and downscaling it.
The MAJOR caveat to this is to not go overboard and try to avoid scaling up beyond 110% — especially if your camera isn’t that great. Pixelated footage is very noticeable, and a re-positioned clip doesn’t work if the actors or subject look out of place.
The last thing to try in your edit is color grading or correcting your footage. Fortunately, we have an entire color-grading tutorial dedicated to that!
Try out some of these tips to see what you like and how it expands your editing style. You may find that your filmmaking becomes much more improved or inspired when you know what you’re capable of in the editing process.