Introduction
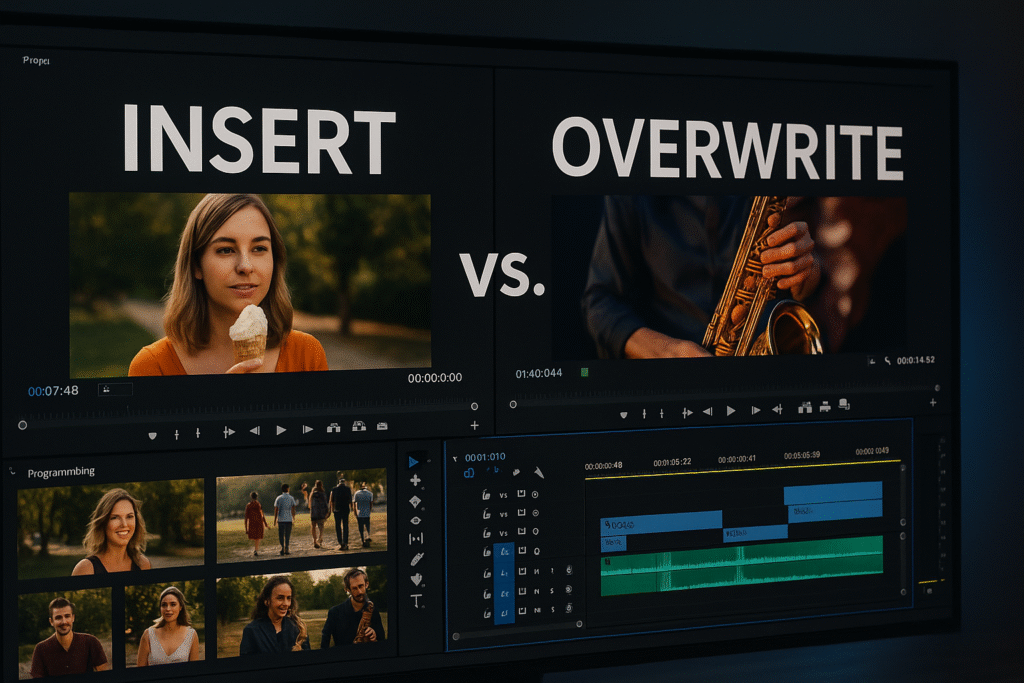
Editing in Adobe Premiere Pro often involves making choices between different editing techniques to achieve the desired outcome. Two fundamental techniques that every editor should master are Insert Edit and Overwrite Edit. These editing functions help control how new clips interact with the existing timeline content.
In this guide, we will explore the differences between Insert and Overwrite edits, explain how to use each method effectively, and share best practices to streamline your editing workflow.
What is an Insert Edit?
An Insert Edit is a technique used to add a new clip into the timeline without overwriting the existing content. The new clip is inserted at the playhead’s position, pushing the subsequent clips to the right to make space.
When to Use Insert Edit:
- To Add Footage Without Deleting: Use when you want to insert a clip into an existing sequence without losing any part of the original content.
- To Maintain Sync: Ideal for multi-cam projects where maintaining audio and video sync is crucial.
- To Add B-Roll: Easily insert a cutaway or reaction shot without disturbing the main sequence.
How to Perform an Insert Edit in Premiere Pro:
- Place the playhead at the position where you want to insert the clip.
- Drag the clip to the timeline while holding the Ctrl (Windows) / Cmd (Mac) key.
- Drop the clip where you see the arrow indicating an insert point.
- Alternatively, use the Insert Button (,) on the toolbar.
Shortcut: Press the comma (‘,’) key on your keyboard after selecting the clip to insert.
What is an Overwrite Edit?
An Overwrite Edit replaces the existing footage in the timeline with the new clip. The new clip will occupy the same duration as the original, effectively overwriting the content at the playhead’s position.
When to Use Overwrite Edit:
- To Replace Existing Content: Use when updating shots or correcting mistakes.
- To Match the Timeline Length: Ideal when the new clip should exactly replace an old one.
- To Maintain Sequence Duration: Ensures that the total length of your timeline remains unchanged.
How to Perform an Overwrite Edit in Premiere Pro:
- Place the playhead over the clip you want to replace.
- Drag the new clip to the timeline.
- Drop it when you see the rectangle icon, indicating overwrite mode.
- Alternatively, use the Overwrite Button (.) on the toolbar.
Shortcut: Press the period (‘.’) key on your keyboard after selecting the clip to overwrite.
Key Differences Between Insert and Overwrite Edits
| Feature | Insert Edit | Overwrite Edit |
|---|---|---|
| Effect on Timeline | Pushes clips to the right | Replaces existing footage |
| Use Case | Adding new content | Replacing or updating existing content |
| Impact on Sync | Maintains audio/video sync | May break sync if not aligned properly |
| Timeline Duration | Increases if the clip is longer | Remains the same |
| Shortcut Key | Comma (‘,’) | Period (‘.’) |
Pro Tip: Use Insert Edit for non-destructive additions and Overwrite Edit when you need to replace a shot without changing the overall duration.
Best Practices for Using Insert and Overwrite Edits
- Plan Your Edits: Decide whether you want to preserve existing content or replace it before choosing an edit type.
- Use Shortcuts: Speed up your workflow by using the comma and period keys for quick insert and overwrite edits.
- Check Sync: Always double-check your audio and video sync after making changes to ensure continuity.
- Use the Source Monitor: Preview your clips in the source monitor to make precise selections before inserting or overwriting.
- Experiment with Edits: Use a duplicate sequence to test your edits without affecting the original project.
Advanced Techniques
Overwriting with Multiple Clips
- Select multiple clips from the Project Panel and press . to overwrite them consecutively.
Insert with Precision
- Use Track Targeting to ensure the insert edit goes to the correct track, avoiding accidental overwrites.
Combine Both Edits
- For complex sequences, use Insert to add narrative elements and Overwrite to replace outdated or incorrect shots.
Common Mistakes and How to Avoid Them
Mistake: Unintended Overwrites
- Fix: Always use the Insert Edit if you want to retain existing footage.
Mistake: Misaligned Audio Sync
- Fix: Double-check the sync lock and use the Snap Tool (S) to align audio correctly after edits.
Mistake: Overlapping Clips
- Fix: Use the Ripple Delete to close gaps when the insert edit creates unwanted spacing.
Final Thoughts
Mastering Insert and Overwrite edits in Premiere Pro is essential for efficient video editing. By understanding when to use each method, you can make intentional, precise changes without disrupting your project’s flow.
At TPC Studio, we specialize in creating dynamic, polished videos using advanced editing techniques. Whether you’re updating content or crafting new stories, our team of professional editors ensures that your projects look flawless from start to finish.
Need help with your next project? Contact TPCStudio today for professional editing services!


