Best Video Editing Tips for Beginners (2025 Edition)
In today’s fast-evolving digital world, video content is king. Whether you want to start a YouTube channel, create professional client projects, or simply improve your personal editing skills, mastering video editing basics is crucial. At TPC Studio, we believe that with the right foundation, anyone can become a skilled video editor.
Here is a detailed, updated guide to the best video editing tips for beginners in 2025:
1. Choose the Right Editing Software (List of Best Editing Software)
Before you begin, it’s essential to pick an editing platform that suits your style and goals. The market is filled with powerful options:
- Adobe Premiere Pro: Industry standard for professionals. (DOWNLOAD HERE)
- Final Cut Pro: A favorite among Mac users. (DOWNLOAD HERE)
- DaVinci Resolve: Best for color grading and free for beginners. (DOWNLOAD HERE)
- CapCut for Desktop: Perfect for quick social media edits. (DOWNLOAD HERE)
Consider your budget, system requirements, and the type of projects you plan to create. Most software now offers trial versions — test a few before committing!
2. Stay Organized from Day One
Efficient editors know that organization is everything. Create separate folders for:
- Raw footage
- Audio files (voiceovers, background music)
- Graphics (logos, overlays)
- Project files and exports
Use clear naming conventions and version control to avoid chaos during the editing process.
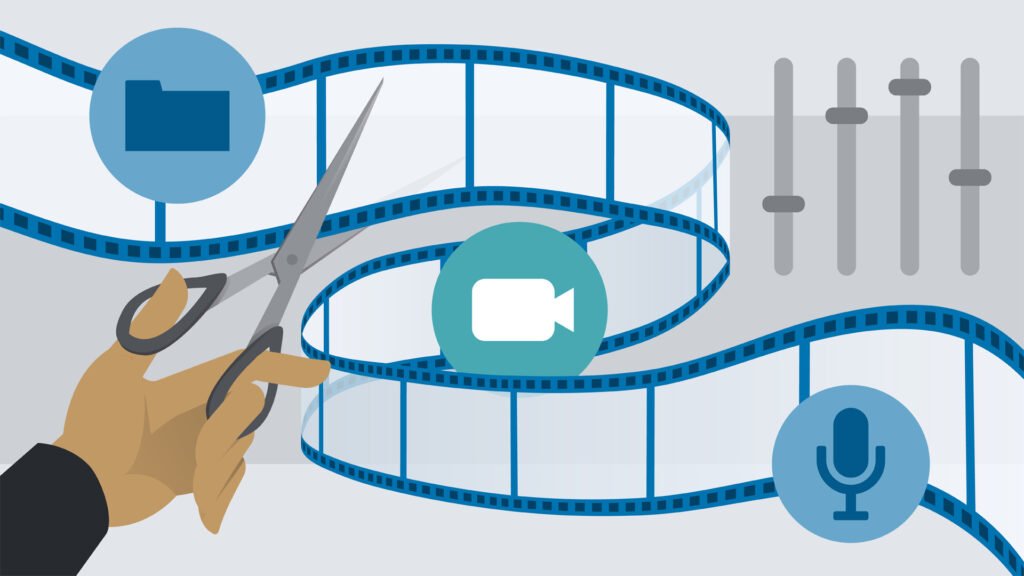
3. Master the Art of Cutting
Editing is all about timing and rhythm. Learn how to:
- Cut unnecessary footage
- Trim scenes for better pacing
- Avoid jump cuts (unless stylistically intended)
- Focus on the emotional flow of your story
Pro Tip: Always edit with your audience’s attention span in mind. If a shot feels too long, it probably is.
4. Learn Keyboard Shortcuts
Editing with a mouse alone is painfully slow. Master keyboard shortcuts like:
- C for the Razor Tool (cutting)
- V for the Selection Tool
- Spacebar to play/pause
- Cmd+Z / Ctrl+Z to undo mistakes
Memorizing shortcuts will double your editing speed and make your workflow far more professional.
5. Understand Basic Color Correction and Grading
Inconsistent color can make your videos look amateurish. Learn how to:
- Correct white balance
- Match colors between shots
- Apply creative color grades to set the mood
Software like DaVinci Resolve has made these advanced features accessible to beginners, so take advantage!
6. Never Neglect Audio
Bad audio will drive viewers away faster than shaky footage. Focus on:
- Cleaning up background noise
- Balancing audio levels
- Syncing audio properly with video
- Using royalty-free music that complements the mood
Consider investing in basic audio editing skills or plugins for best results.
7. Tell a Compelling Story
Editing isn’t just technical; it’s emotional. Always ask:
- What is the story I’m trying to tell?
- How can I engage the viewer emotionally?
Use pacing, music, transitions, and visuals to enhance the emotional impact of your message.
Unlimited Download Stock Videos, Templates, Music, Sound Effects and Images.
8. Keep Learning New Trends and Techniques
The video editing industry evolves rapidly. In 2025, trends like:
- AI-assisted editing
- Vertical video for mobile-first platforms
- Short-form storytelling
are reshaping how we approach editing. Stay current by following tutorials, taking online courses, and practicing new techniques.
9. Use AI Tools to Save Time
Artificial Intelligence is revolutionizing video editing. In 2025, tools can:
- Auto-generate captions
- Suggest cuts based on scene changes
- Enhance audio quality automatically
- Apply automatic color correction
However, remember that creativity still matters most — AI can speed up your workflow, but your human touch makes the content compelling.
10. Practice, Practice, Practice
There is no substitute for experience. Work on as many projects as you can, even personal ones. Try different styles:
- Vlogs
- Short films
- Promotional videos
- Tutorials
Every project, big or small, teaches you something new about storytelling, pacing, and technical skills.
Final Thoughts
Becoming a confident video editor is a journey. It takes time, patience, and constant curiosity. But with dedication and the right approach, you can create videos that captivate, inform, and inspire.
At TPCStudio, we help creators and businesses bring their visions to life with high-end video editing services. Whether you’re a beginner looking for tips or a brand needing full-service editing support, we’re here to help.
Ready to elevate your editing game? Contact TPCStudio today and let’s create something amazing together!