Audio effect plugins for Premiere Pro and Final Cut
Whether you’re editing a cinematic masterpiece or polishing a YouTube video, great audio is just as important as great visuals. In 2025, professional editors rely heavily on VST plug-ins (for Premiere Pro) and Audio Units (AU) (for Final Cut Pro) to enhance sound quality, apply effects, reduce noise, and mix audio like a pro.
In this updated guide from TPC Studio, we walk you through how to use these audio plug-ins effectively in both Adobe Premiere Pro 2025 and Final Cut Pro, complete with compatibility tips, setup instructions, and plug-in recommendations.
Adobe Premiere Pro
(Download Premiere Pro)
What Are VST and Audio Units Plug-ins?
- VST (Virtual Studio Technology): Used by Premiere Pro (Windows/macOS). Common plug-ins include EQs, compressors, reverb, and noise reducers.
- Audio Units (AU): macOS-native audio plug-ins used in Final Cut Pro. Similar in function to VSTs but exclusive to Apple systems.
These plug-ins allow you to apply advanced audio processing that isn’t available in the default software.
🔧 How to Use VST Plug-ins in Premiere Pro (2025)
Step 1: Install the Plug-in
- Download and install a compatible VST3 plug-in on your system.
- Most VST3s go to:
C:\Program Files\Common Files\VST3on Windows or/Library/Audio/Plug-Ins/VST3/on macOS.
Step 2: Launch Premiere Pro and Open Your Project
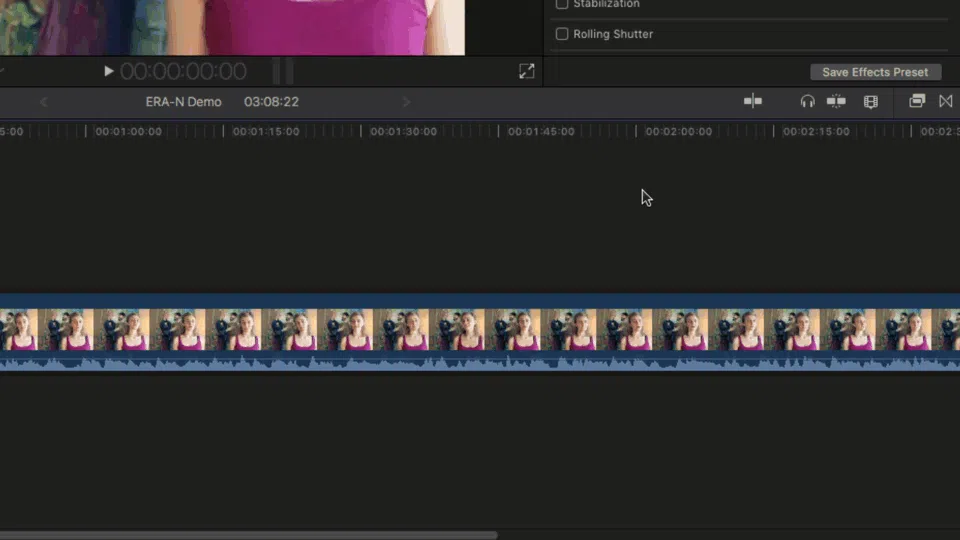
- Open your project and go to the Audio Track Mixer (
Window > Audio Track Mixer)
Step 3: Access the Effects Slot
- In the mixer panel, click the small triangle next to a track and choose an empty “Insert” slot.
- Navigate to
VST3> choose your installed plug-in.
Step 4: Customize the Plug-in
- The interface of the VST will load. Adjust parameters like EQ bands, compression threshold, reverb depth, etc.
- Click play to hear real-time changes.
Step 5: Save Your Presets (Optional)
- Save your custom settings as a preset for use in future projects.
Note: If the plug-in doesn’t appear, check that you installed the correct architecture (64-bit) and that Premiere Pro scanned the folder on launch.

It might take a few minutes depending on how many plug-ins are installed in your system, but once completed these plug-ins will appear in the Effects > Audio Effects bin for you to drag and drop onto audio clips.

Another way to use audio effects is to insert them as audio effects in an audio track. In order to do so, click on show/hide effects in the Audio Track Mixer window and then select the plug-in you would like to use.

🎛 How to Use Audio Units (AU) in Final Cut Pro
Step 1: Install AU Plug-in
- Download and install an AU plug-in. Most install automatically into:
/Library/Audio/Plug-Ins/Components/
Step 2: Restart Final Cut Pro (if already open)
- FCP must be restarted to detect newly installed AU plug-ins.
Step 3: Apply to Clip or Timeline
- Select your audio clip
- Go to the Effects Browser > Audio > Audio Units
- Drag your desired plug-in onto the clip
Step 4: Customize the Effect
- Open the Audio Inspector, and click the plug-in name to tweak parameters
Step 5: Save Preset for Reuse
- You can save customized effect chains for future use
Tip: Many AU plug-ins are built into macOS (like Apple’s AUReverb, AUDynamicsProcessor, etc.) and work beautifully with Final Cut.
To access the plug-in interface:
- Select the clip which has an enabled audio effect.
- Switch to the audio inspector.
- Under effects, click on the advanced effect editor UI icon
🔍 Recommended Plug-ins in 2025
✅ Free VST/AU Plug-ins:
- TDR Nova — Dynamic EQ
- Valhalla Supermassive — Reverb and spacey delays
- iZotope Vinyl — Retro lo-fi effect
- Melda MEqualizer — Clean visual EQ
💰 Premium Options:
- Waves Audio Plug-ins (e.g., L2, NS1, Vocal Rider)
- FabFilter Pro-Q3 / Pro-C2 (industry-standard EQ and compressor)
- iZotope RX 10 Elements/Advanced (audio repair & restoration)
All of the above have versions available in VST3 or AU format for cross-platform use.
🎯 Tips for Smooth Workflow
- Always use VST3 over VST2 (most modern DAWs and NLEs are phasing out VST2)
- Don’t overload your tracks — Use only necessary plug-ins to avoid latency
- Use track-based effects for global control (especially in Premiere Pro)
- Bounce or render audio when using CPU-heavy plug-ins to avoid lag
Final Thoughts
Using audio effect plug-ins is an essential part of achieving cinematic audio quality in your video edits. Whether you’re working in Adobe Premiere Pro or Final Cut Pro, understanding how to install, apply, and optimize these tools will take your audio from basic to broadcast-level.
At TPC Studio, we work with advanced audio and video tools daily to deliver professional-grade content. Whether you’re a creator, brand, or production team, we can help you elevate your video with the right mix of visual editing and expert audio enhancement.
Need pro-level video and audio post-production? Visit TPC Studio and let’s create content that sounds as good as it looks.