Audio effect plugins for Premiere Pro and Final Cut
When it comes to audio effects, most modern non-linear video editors allow you to use plug-ins developed by third parties to extend their native audio effects. You might want for example to de-noise audio, process its dynamics or transition between different segments using reverb or delay. Plug-ins, as the name implies, are pieces of software that can run inside other programs but in order to do so they have to be distributed in a specific format that is supported by the host application.
The two most popular plug-in formats are:
- VST (Mac and Windows) – Stands for Virtual Studio Technology and was developed by Steinberg. They are bundled as .vst files and they usually live in C:\\Program Files\\Steinberg\\VSTPlugins (Windows) or /Library/Audio/Plug-Ins/VST (Mac)
- AU (Mac only) – Apple’s equivalent to VSTs. They are bundled as .component files and their default installation path is /Library/Audio/Plug-Ins/Components
Adobe Premiere Pro
Premiere Pro supports third-party VST (and AU on Mac) plug-in effects that are available in both the Audio Mixer and the Effect Controls panel. Initially, however they may not be activated so you have to go into Preferences > Audio and click on the Audio Plug-In Manager button. From there, make sure it’s pointed correctly at your plug-in folders and press Scan for Plug-Ins.
The locations where Premiere Pro searches for VST plug-ins are as follows.
- HKEY_LOCAL_MACHINE\\Software\\VST\\VSTPluginsPath (Windows)
- C:\\Program Files\\Steinberg\\VSTPlugins (Windows)
- System HD/Library/Audio/Plug-ins/VST (Mac OS)
- System HD/<user>/Library/Audio/Plug-Ins/VST (Mac OS)
If these paths are not present by default you can press add on the plug-in manager window and add a custom location or point Premiere at the correct location.

It might take a few minutes depending on how many plug-ins are installed in your system, but once completed these plug-ins will appear in the Effects > Audio Effects bin for you to drag and drop onto audio clips.
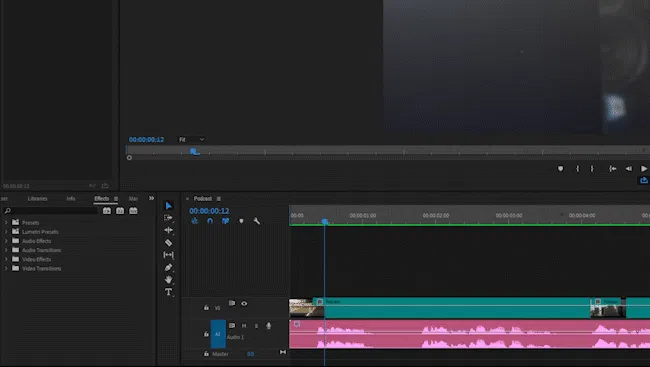
Another way to use audio effects is to insert them as audio effects in an audio track. In order to do so, click on show/hide effects in the Audio Track Mixer window and then select the plug-in you would like to use.

Final Cut Pro
Final Cut Pro supports Audio Unit plug-ins and automatically scans for newly installed plug-ins during startup. Audio settings and effects are applied on a clip by clip basis and not on the layer. Click on the effects browser (or press ⌘ + 5) to access the audio effect list and then drop the selected effect on the region.
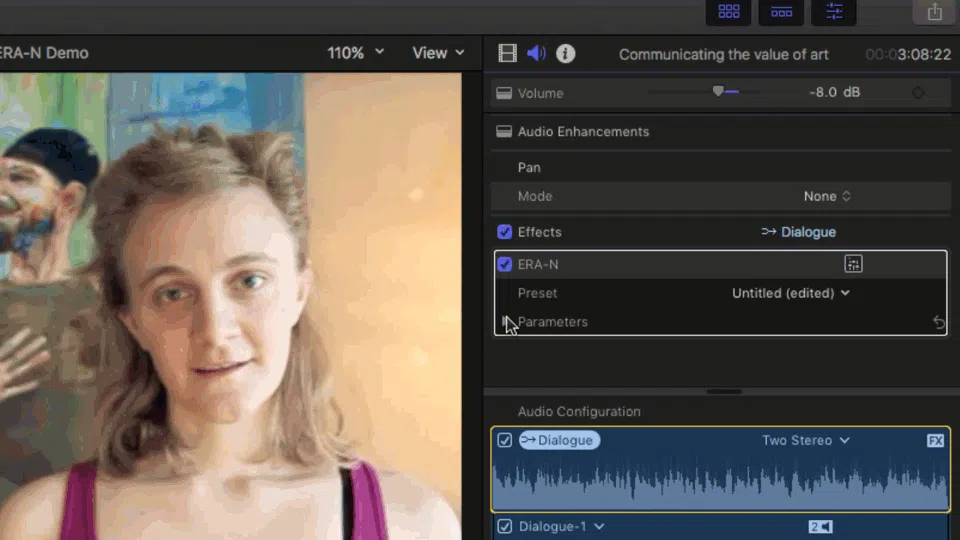
To access the plug-in interface:
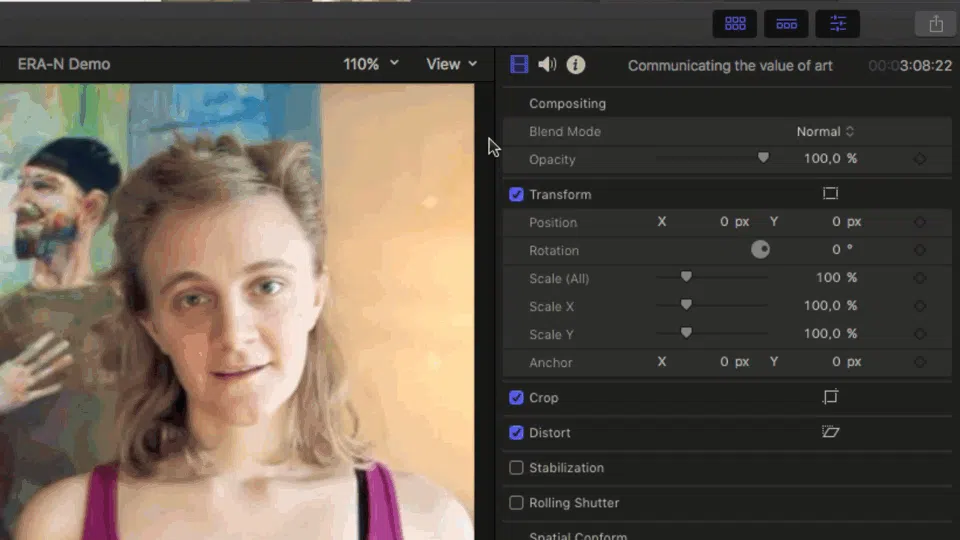
- Select the clip which has an enabled audio effect.
- Switch to the audio inspector.
- Under effects, click on the advanced effect editor UI icon
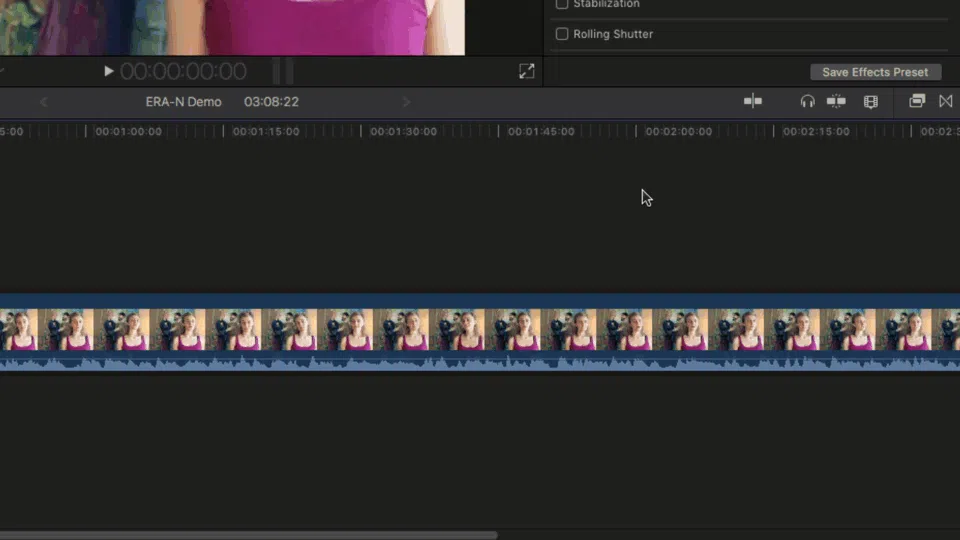
Another way to vary the parameters of an audio plug-in is to access the parameters sub-menu. This way you can create keyframes. With Final Cut Pro, you can use keyframes to create simple changes to audio over time, such as fading the volume or an effect in or out in the middle of a clip. You place keyframes at specific points in a clip to change the parameter value of an audio enhancement or effect at those points. For example, you can keyframe specific points for volume or for an effect such as reverb or delay. Changes in the parameters are also reflected on the waveform view after a short amount of time, make sure you are not in the red area!